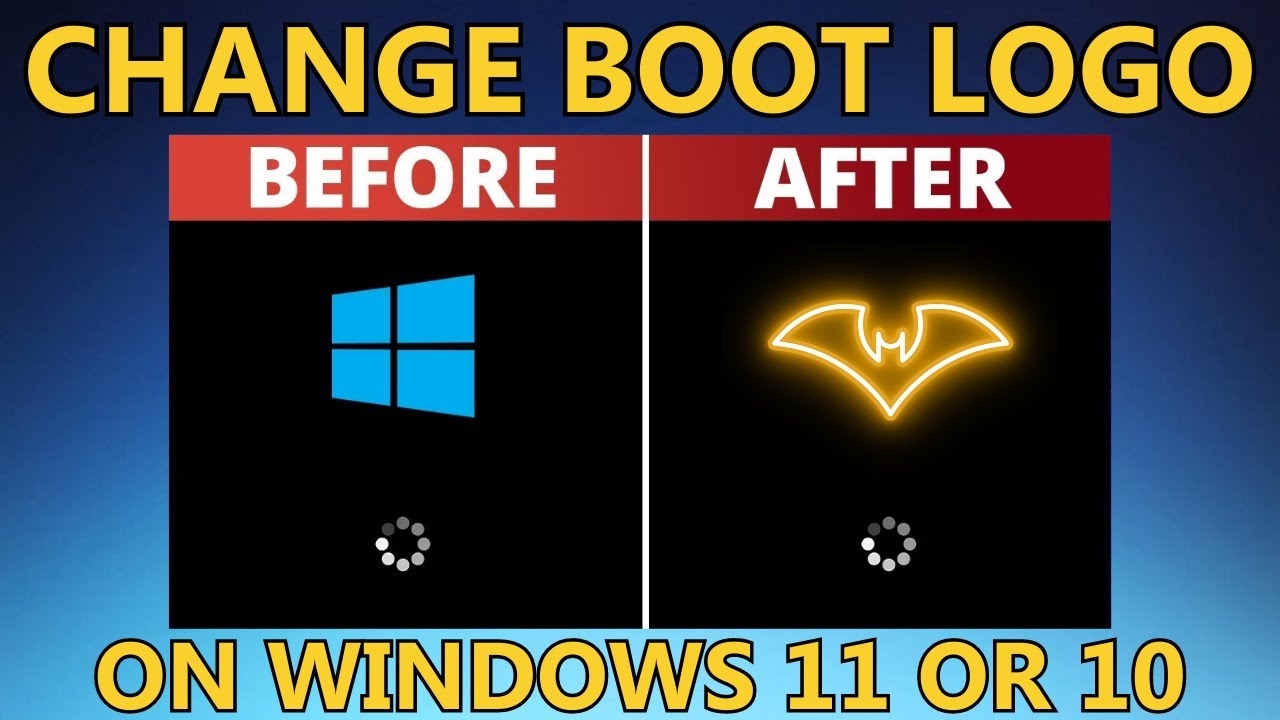
Customizing Your Windows 11/10 Boot Logo Disabling Secure Boot
Customizing Your Windows 11/10 Boot Logo A Step-by-Step Guide Before we begin, it’s important to ensure that Secure Boot is disabled on your computer. Secure Boot is a security feature that helps protect your system from malware, but it can also prevent us from making changes to the Windows bootloader, which is necessary for customizing the boot logo. To check if Secure Boot is disabled, open the System Information tool (search for “msinfo32” in the Windows search bar) and look for the “Secure Boot State” field. If it says “On,” you’ll need to restart your computer, enter the BIOS, and disable Secure Boot.
Verifying UEFI BIOS
In addition to disabling Secure Boot, your computer’s BIOS mode must be set to UEFI (Unified Extensible Firmware Interface) in order to change the boot logo. You can check your BIOS mode in the System Information tool as well. If your BIOS mode is set to Legacy, your computer may be too old to support UEFI, or you may need to reinstall Windows in UEFI mode, which is generally not worth the effort just to change the boot logo.
Downloading HackBGRT
With the necessary prerequisites out of the way, it’s time to download the tool we’ll be using to change the boot logo: HackBGRT. You can find the latest version of HackBGRT on the project’s GitHub page. Download the “hackbgrt.zip” file and extract it to a convenient location on your desktop.
Editing Your Logo
Now it’s time to prepare the image you want to use as your custom boot logo. Open the extracted HackBGRT folder and you’ll see another folder with the same name. Inside this folder, you’ll find a file called “splash.bmp,” which is the default boot logo that HackBGRT uses. You can replace this file with your own image, but it’s recommended that the image be between 200×200 and 300×300 pixels in size.
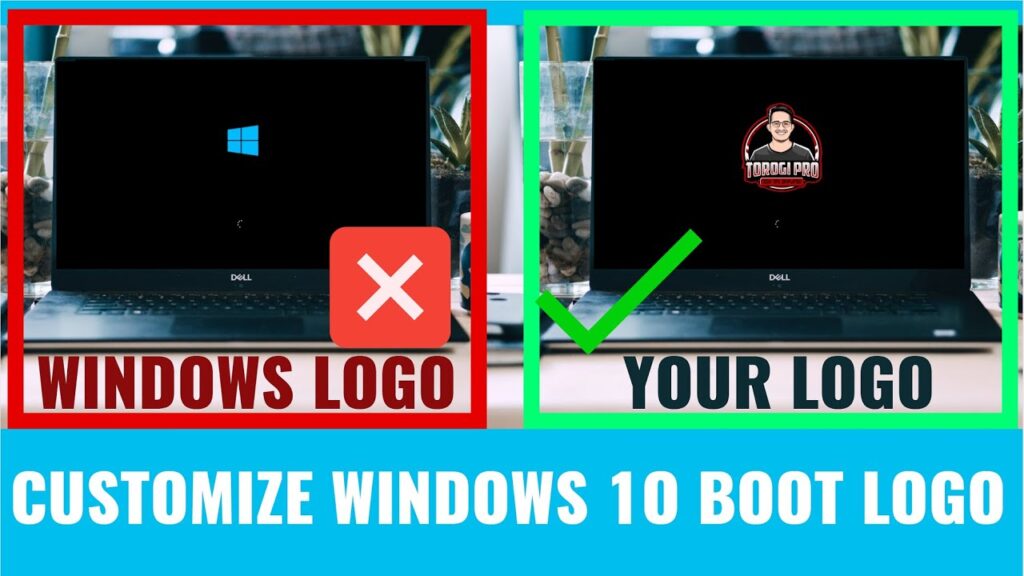
To edit your logo, open the image in a simple image editor like Microsoft Paint. Resize the image to the recommended dimensions, and make sure to fill in any transparent areas with a solid color (like black) to ensure a seamless integration with the boot screen background.
Once you’re satisfied with your edited logo, save the file as a 24-bit BMP (bitmap) image, overwriting the existing “splash.bmp” file in the HackBGRT folder.
Applying the Custom Boot Logo
With your custom logo ready, it’s time to use HackBGRT to apply it to your Windows bootloader. Navigate back to the main HackBGRT folder and right-click on the “setup.exe” file, then select “Run as administrator.” This will launch the HackBGRT tool.
The HackBGRT tool will mount your EFI partition and install the necessary files to replace the default boot logo with your custom image. Once the process is complete, you can press any key to exit the tool.
Verifying the Custom Boot Logo
Now it’s time to restart your computer and see your new custom boot logo in action. However, in some cases, the boot logo may not change immediately. If this happens, you’ll need to enter the BIOS again and ensure that the HackBGRT boot entry is set as the first boot priority.
To do this, restart your computer and enter the BIOS. Look for the “Boot” or “Boot Order” section, and make sure that the UEFI hard drive or SSD with the “HackBGRT” label is set as the first boot option. Save the changes and exit the BIOS, and your computer should now boot with your custom logo.
Reverting to the Default Boot Logo
If you ever want to revert to the default Windows boot logo, simply reopen the HackBGRT tool (making sure to run it as an administrator) and enter the “r” key. This will remove the custom boot logo and restore the default Windows bootloader.
Conclusion
Customizing the Windows boot logo can be a fun and personalized way to make your system feel more unique. However, it’s important to remember that modifying the bootloader can potentially cause issues if not done correctly. Always proceed with caution, and make sure to have a plan in place to revert the changes if necessary.
I hope this guide has helped you successfully change the boot logo on your Windows 11 or 10 computer. If you have any further questions or encounter any issues, feel free to reach out in the comments section below.
